LowEndBox

A few months back I moved my sites off a shared hosting plan and into a self-managed VPS environment, hoping to give a bit more performance and reliability to my network. During my travels I came across an awesome little site, www.lowendbox.com, dedicated to un-managed, low budget VPS sales and reviews. This site, which is updated a few times a week, features a fairly wide range of VPS offers ranging from fairly good quality servers all the way down to dirt cheap, jam-packed, low ram VPS that you can have for less then a $1 a month!
I am thrifty, and I am a person who loves to explore what you can do with minimal hardware, so… challenge accepted.
My $5/yr BlueVM 128mb VPS Node

I ended up grabbing a sale from BlueVM. The node is 128mb/128mb swap with 5GB storage and 100GB bandwidth. Pretty teeny tiny server, but after the 20% discount the node comes to a measly $5.63 a year.
Signing up was quite painless and my node was activated almost immediately after payment.
I went with a Debian 7 Minimal installation as my OS to limit the amount of extra applications that will need to be removed before getting started.
First steps with any new server is to update your repositories and do a full upgrade on the system. The following steps will of course need root to run:
apt-get update
apt-get upgrade
Let’s check the server’s memory to see how minimal it really is…
free -mOutputs:
             total       used       free     shared    buffers     cached
Mem:           128         14        113          0          0         8
-/+ buffers/cache:          5        122
Swap:          128          0        128
Great! Only a few mb actually being used by the OS. That leaves us almost the full 128mb to work with.
Next, let’s benchmark the server using this FreeVPS script:
wget freevps.us/downloads/bench.sh
chmod 700 bench.sh
./bench.sh
Outputs:
CPU model :  Intel(R) Xeon(R) CPU E3-1270 v3 @ 3.50GHz
Number of cores : 1
CPU frequency :  3491.996 MHz
Total amount of ram : 128 MB
Total amount of swap : 128 MB
System uptime :   28 min,
Download speed from CacheFly: 63.0MB/s
Download speed from Coloat, Atlanta GA: 11.1MB/s
Download speed from Softlayer, Dallas, TX: 14.4MB/s
Download speed from Linode, Tokyo, JP: 3.74MB/s
Download speed from i3d.net, Rotterdam, NL: 2.76MB/s
Download speed from Leaseweb, Haarlem, NL: 363KB/s
Download speed from Softlayer, Singapore: 2.48MB/s
Download speed from Softlayer, Seattle, WA: 8.88MB/s
Download speed from Softlayer, San Jose, CA: 73.2MB/s
Download speed from Softlayer, Washington, DC: 7.28MB/s
I/O speed :  203 MB/s
Although I wouldn’t rush off to host my network here, it’s certainly a a very strong bench for a 128mb node. 203MB/s IO will allow us to do some web hosting as long as we don’t go crazy installing wordpress and 1000 plugins to overload the server. And of course, more then enough bandwidth here to do whatever we need to.
Installing Nginx

Although I wouldn’t necessarily call Apache “heavy”, it is not really well optimized for running in extremely low ram environments. It would be fine @256mb to just do a generic LAMP stack install, but in this case we’re going to want to go as light as possible to leave RAM to PHP and SQL processes.
Although lighttpd is a great alternative, I have decided to use Nginx for a few reasons. It is extremely light, it is easy to install and one of the easiest web servers to manage configuration wise, and lastly it comes with some mail handling built in which will allow us to skip some unnecessary installs later on.
Nginx is available for install through apt-get. There are multiple packages you can choose from, nginx-light, nginx-full or nginx-extras. These obviously range from the lightest installs with only the barebones to the heaviest installs. Despite what you might be thinking, we’re actually going to use the “nginx-full” package as this will have some mail functionality built in which the light package is missing.
apt-get install nginx-full
service nginx start
To test that that Nginx installed properly, visit your site by IP or by FQDN if you have setup a domain or subdomain for your VPS already. We should a basic “Welcome to Nginx!” message here.

Installing PHP5-FPM
Next we will install PHP via the PHP5-FPM module. This is an alternative PHP5 Fast CGI implementation with some tweaks to improve performance under high load. This means that are already limited server won’t be even more pinned to the ground by concurrent requests. While we are at it we will also install some modules for PHP5 to interface with MySQL and some commonly needed modules. You can of course edit the modules list as required if you know what you are doing.
apt-get install php5-fpm
apt-get install php5-mysql php5-curl php5-gd php5-mcrypt
Easy to install, next we’ll need to configure it. Of course, use your preferred text editor in place of nano if you wish.
nano /etc/nginx/sites-available/defaultThere are 2 sections we are going to need to make changes on initially. First lets enable ipv4 and ipv6 listening ports. Although the server will listen to port 80 by default it’s always a best practice to be discrete and save ourselves some debuggin headaches later on.
Look for code like this and remove the comments to enable both “listen” lines. We’ll additionally want index.php files to be defaulted to by the server, so we add index.php onto our “index” line.
server {
    listen   80; ## listen for ipv4; this line is default and implied
    listen   [::]:80 default_server ipv6only=on; ## listen for ipv6

    root /usr/share/nginx/www;
    index index.php index.html index.htm;
Next we want to enable .php files and have them processed by PHP5-FPM. Scroll down in the file and uncomment the appropriate lines to enable PHP5-FPM:
location ~ \.php$ {
        fastcgi_split_path_info ^(.+\.php)(/.+)$;
#       # NOTE: You should have "cgi.fix_pathinfo = 0;" in php.ini
#
#       # With php5-cgi alone:
#       fastcgi_pass 127.0.0.1:9000;
#       # With php5-fpm:
        fastcgi_pass unix:/var/run/php5-fpm.sock;
        fastcgi_index index.php;
        include fastcgi_params;
}
Save the file and close it. Next let’s restart the services and create a PHP test file.
/etc/init.d/nginx restart
/etc/init.d/php5-fpm restart
Create test file:
nano usr/share/nginx/www/test.phpAdd the following line to our test file:
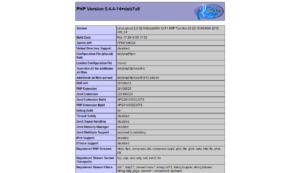
<?php phpinfo(); ?>Test it out by visiting our server in your browser with test.php, we should see the php configuration output as so:

Install MySQL
Lastly we’ll probably want a database if we plan to host dynamic content. Although there are some MySQL alternatives which are certainly lighter (like SQLite), they also come with some costs/tradeoffs. I would prefer to just install a proper version of MySQL which we’ll then tweak for our low ram VPS environment.
apt-get install mysql-server mysql-clientYou will be prompted for a password during the install. Go and ahead and enter a strong password for your root account here.
             total       used       free     shared    buffers     cached
Mem:           128         72         55          0          0         21
-/+ buffers/cache:         50         77
Swap:          128          0        128
How are we doing on ram now? Still quite a bit free, 77mb to spare. Of course, as we start using the system this will get sucked up and we’ll need to be smart about what we run, but we have a successful web server so far!
Let’s do some tweaks to MySQL to ensure that it doesn’t go resource heavy on us…
Visit this site for a great config for 128mb vps:
http://keithscode.com/blog/23-running-mysql-on-a-small-128mb-vps.html
Grab this config and place that into your /etc/mysql/my.cnf file. Make sure to backup your existing file incase we need to revert! ie:
mv /etc/mysql/my.cnf /etc/mysql/my.cnf.backup
nano /etc/mysql/my.cnf
/etc/init.d/mysql restart
That free’d us up some more memory:
             total       used       free     shared    buffers     cached
Mem:           128         42         85          0          0         20
-/+ buffers/cache:         21        106
Swap:          128          0        128
Now let’s install phpmyadmin to manage our MySQL instance and install it to /phpmyadmin on our server.
apt-get install phpmyadmin
cp -R /usr/share/phpmyadmin /usr/share/nginx/www
We can now access phpMyAdmin on our server:

Test The Server
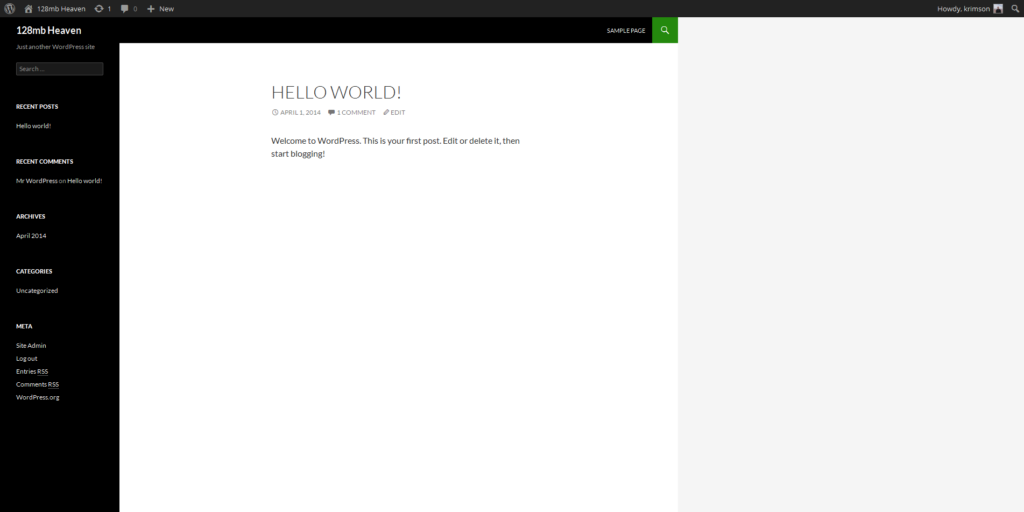
I’m going to do a base wordpress install to test my server functionality out and run a wordpress benchmark. After creating a new database and user with priveleges to that database I can go ahead with my WordPress install.
cd /usr/share/nginx/www
wget http://en-ca.wordpress.org/wordpress-3.8.1-en_CA.tar.gz
tar xvf wordpress-3.8.1-en_CA.tar.gz
chown -R www-data:www-data wordpress
And then visit our site and see if it can install!

Great benchmarks! I am quite surprised to be honest. This would make for a great little server to host 1 or 2 wordpress sites on with low to medium traffic, and limited plugins.

I got similar vps server from FortaCloud but my problem is apt-get update or wget anysite.com/file doesnot work on this vps server. it seems like the internet access is not configured, do you know how to configure the internet access on vps. i tried to find on google but was not able to get an exact answer.
Sorry I’m not sure I can help on this. You may need to contact your VPS provider as to why you can’t do any outgoing connections. It could be a spam prevention or something.
Hi
I have been trying to follow this. I have installed debian 7 64 minimal with the bluevm(small package as above)
When i am trying to install the nginx-full, i get unable to locate package nginx-full.
Can you please advise how to proceed with.
Thanks
You followed all the instructions? Only reason I can think of is missing an apt-get update first.
Can you post the full error for that command?
I got the same error “Unable to locate package nginx-full”.
When I do apt-get update and apt-get upgrade, the issue solved.
Hope this help.
The article has been revised with apt-get update and apt-get upgrade. Sorry for missing these steps. It’s the first thing you should do basically on any new server.
IPXCore – $1 per 96 MB VPS, $1.25 per 128 MB VPS